Table of Contents
While using an incubator is the most common method, another natural and effective way to hatch chicken eggs is by utilizing a broody hen. A broody hen is a chicken that exhibits a strong maternal instinct and is willing to sit on eggs to hatch them. This article will guide you through the process of hatching chicken eggs without an incubator, using a broody hen.
Step 1: Find a broody Hen
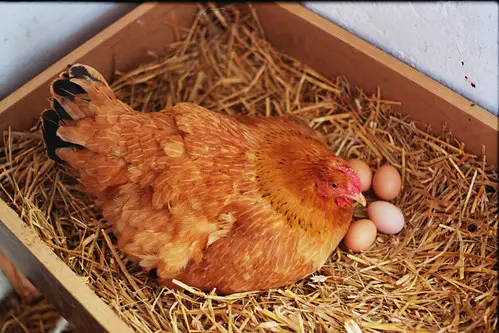
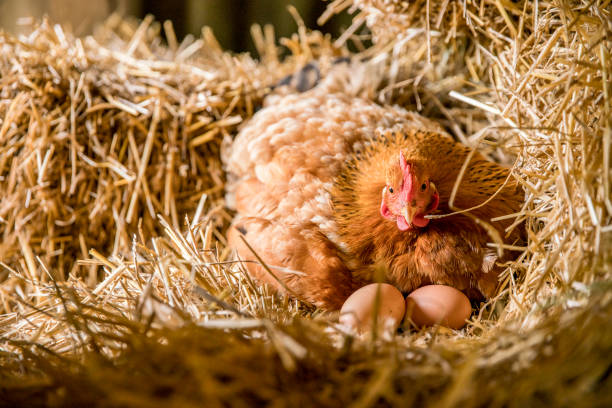
The first step in hatching chicken eggs without an incubator is to identify a broody hen. Not all hens display broody behavior, so it’s important to choose a hen that is known to be broody or is exhibiting signs of broodiness. Common signs of a broody hen include sitting on the nest for extended periods, plucking feathers from her breast to create a bare spot called a “brood patch,” and becoming aggressive or protective when approached.
Step 2: Prepare the nest box
Once you have identified a broody hen, it’s essential to prepare a suitable nest box for her. The nest box should be clean, spacious, and located in a quiet and secluded area where the hen can feel secure. Line the nest box with clean straw or wood shavings to provide a soft and comfortable environment for the eggs.
Step 3: Set the eggs in the nest box
Carefully select fertilized eggs for hatching. It’s crucial to use eggs that are less than ten days old to maximize the chances of successful hatching. If possible, obtain the eggs from healthy and disease-free chickens to avoid any potential complications.
Before placing the eggs under the broody hen, it’s a good idea to candle and inspect the eggs. Candling involves shining a bright light through the egg to examine its content. This process helps identify any cracked or damaged eggs, as well as check for signs of fertility such as blood vessels or a developing embryo. Discard any eggs that appear to be infertile or damaged to improve the chances of successful hatching.
Step 4: Monitor the hen and eggs development
It’s important to regularly monitor the broody hen and the eggs throughout the incubation period. The hen should be allowed to leave the nest once a day to eat, drink, and relieve herself. Ensure there is easy access for her to do so, but also provide enough security to prevent other chickens from disturbing the eggs. Maintain a clean environment by regularly removing any soiled bedding or broken eggs.
While you won’t be able to see inside the eggs as you would with candling, you can still observe certain signs of development without disturbing the eggs. As the incubation period progresses, the eggs may feel slightly warm to the touch due to the hen’s body heat. Over time, you may notice the eggs gradually darken in color, indicating ongoing development within.
Step 5: The Hatch Day
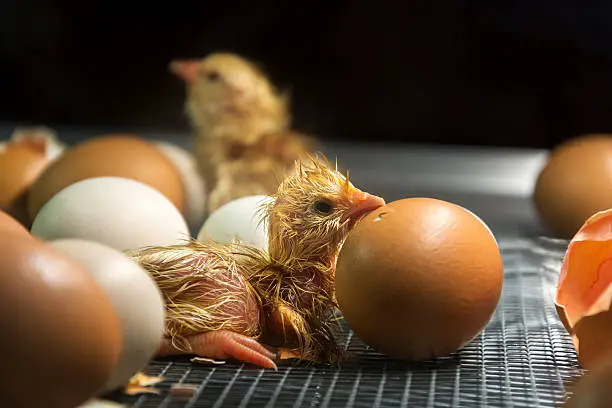
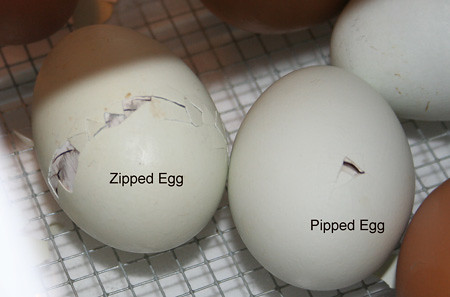
As the incubation period progresses, it typically takes around 21 days for chicken eggs to hatch. However, the exact timing may vary slightly depending on the breed and environmental conditions. Keep a close eye on the hen during this period, as she may become more protective and alert as the hatch day approaches. Be patient and avoid interfering with the process unless necessary.
Hatching chicken eggs without an incubator using a broody hen is a natural and rewarding experience. By following these steps, you can successfully hatch healthy chicks without the need for artificial incubation. Remember to provide a suitable nest box, select fresh, fertilized eggs, and closely monitor the broody hen and eggs throughout the incubation period. Candling and inspecting the eggs before setting them can help improve the hatch rate by identifying and removing any infertile or damaged eggs.

