Table of Contents
It can be very rewarding to see a hen incubate eggs naturally. It is a great learning experience for all the family, and is also a less expensive and less time-consuming way of replacing poultry.
Why use broody hens instead of incubators?
Perhaps the most obvious reason for using a broody hen for egg incubation is that it is the natural way. Hens make great mothers and the success rate is high if a number of simple provisions are made. There are a number of problems that may arise when using artificial incubators, for example if there is a power cut.
Another good reason for using a broody hen as opposed to an incubator is that there is no need to worry about turning the eggs or keeping the humidity and temperature settings right. A broody hen will generally hatch eggs more successfully than an incubator.
However, it is worthwhile to note that there are some advantages to using an incubator. Fewer eggs can be incubated at any one time under a broody hen. Also, a separate living area and nesting box will have to be provided for the duration of hatching and rearing. There is also no guarantee that a hen will go broody when fertile eggs are available, or vice versa!
Location and Setup
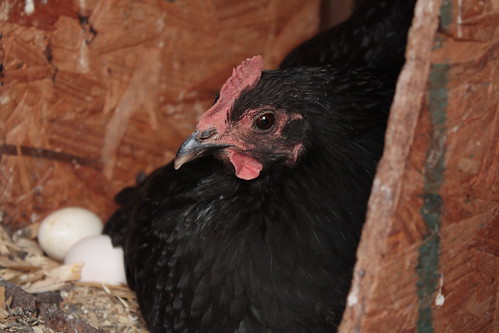
The first step is to ensure that your hen has gone broody. Hens usually go broody in spring and early summer, and a telltale sign is that the hen refuses to leave the nest box, and kicks up quite a fuss if disturbed. She will also fluff up her feathers to make herself look more intimidating and make a clucking noise which is designed to warn off predators. Another telltale sign of broodiness is that she will lose a lot of her feathers on her chest area; this is to keep the eggs warm and humid.
The broody hen should be moved to an area separate from other hens before she starts sitting on the fertile eggs. Other hens need to be kept separate as they will peck the chicks when they hatch and even eat them. The broody hen should be moved from the main coop at night when she is more docile, into a special hen house.
It is important to ensure the new area is clean and secure, and the nest box should be located so that the bird feels safe and relaxed. For the first day or two, keep her sitting on dummy eggs or golf balls to ensure that she is definitely broody, then replace these with fertile eggs.
Feeding and Drinking
The broody should be taken off the nest once each day, preferably in the morning or the evening, to feed and drink. It is a good idea to establish a routine as this will make her more comfortable and relaxed.
It is also important that the hen defecates while on her daily break. Soiling of the nest can lead to contamination of the eggs, so if this does happen, carefully remove the dirty nesting material and replace it with fresh straw.
Time Scale for Incubation
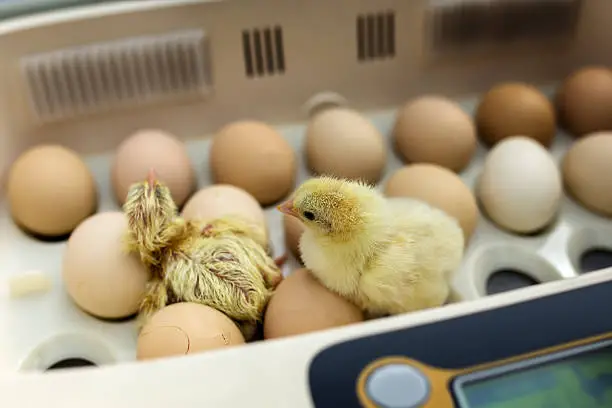
Medium to large fowl incubation takes 21 days. Bantam eggs take around 19 days to hatch. During this period, the broody hen will regularly turn and reposition the eggs under her so that all of the eggs get just the right amount of heat from her body.
After the 18th day (for chicken eggs), the hen should not be disturbed. Food and water should be left within her reach but out of the reach of chicks. Try not to disturb her while the chicks are hatching, as she needs to bond with the chicks.
Incubation with a broody hen is certainly a lot less time-consuming than using artificial incubation. Mother hens usually do a great job of looking after their chicks, and experienced poultry keepers tend to agree that the chicks are healthier and more instinctive due to being raised naturally.